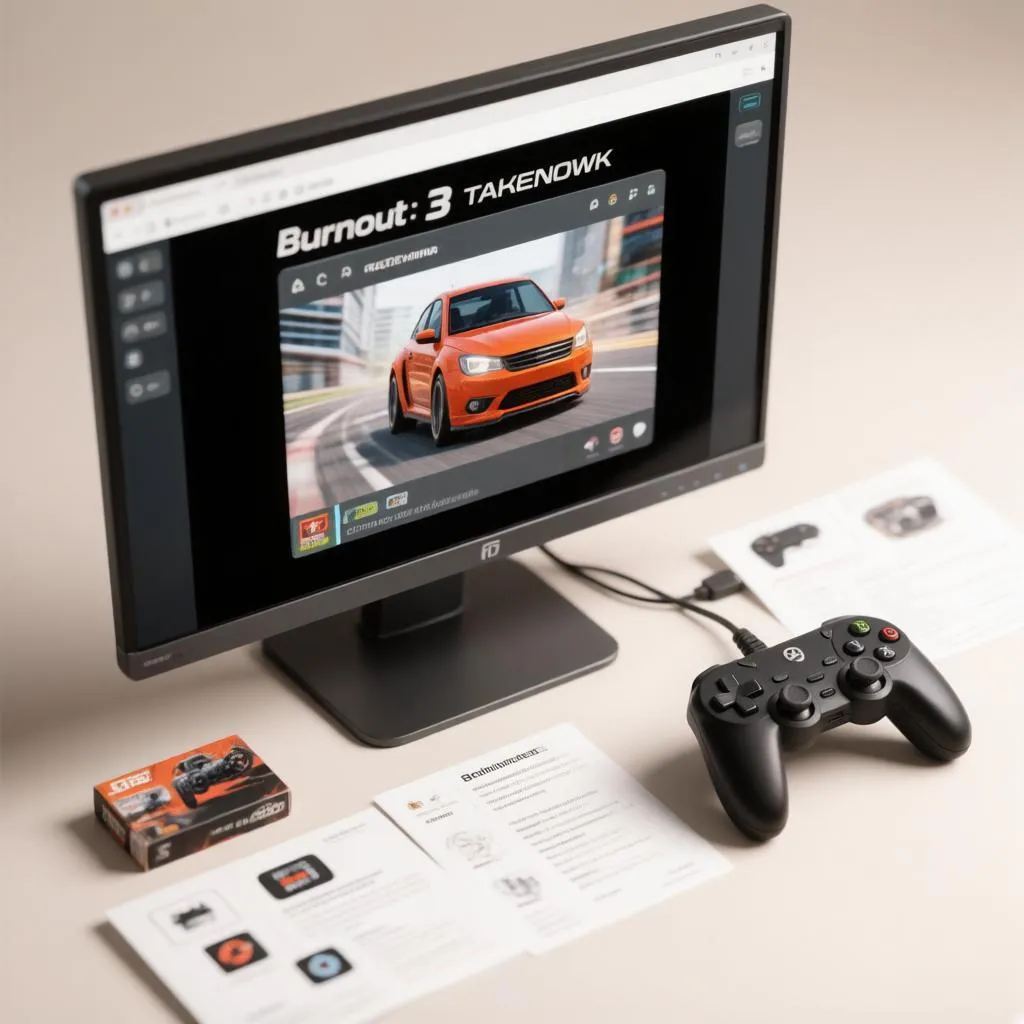
Every true racing fan has a short list of games that modern platforms simply cannot replace, and Burnout 3: Takedown sits near the top of most of them. Criterion’s 2004 masterpiece perfected the art of the aggressive overtake: slam rivals into walls, steal their wrecked momentum as a Takedown, and feed the boost meter with every act of on-screen violence. Yet the game never received a PC port, and the disc only ever shipped for PlayStation 2 and Xbox. If you want that rush on a desktop setup, emulation is the road that remains open, and with today’s hardware it runs far better than most people expect. This walkthrough covers what you need, how to configure the game for smooth performance, and how to make a controller feel like an arcade racer rather than a compromise.
Why Burnout 3 never made it to PC
Burnout 3 was a product of the console-first era, when publishers treated PC as a secondary market for racing games. Criterion shipped Burnout 3 exclusively for PS2 and Xbox in September 2004, and the series only touched PC once, with the watered-down Burnout Paradise port in 2009. Licensing is the deeper problem: the game is stuffed with EA Trax music, branded sponsors, and car livery licenses that have long since expired, which makes any official remaster or re-release commercially messy.
That legal thicket is also why no modern reissue has appeared in two decades. The retail discs themselves are easy to find second-hand at reasonable prices, and owning one remains the cleanest way to justify running the game through an emulator. Keep in mind that emulation itself is legal; the grey area concerns obtaining game images you do not own.
What you need before starting
Getting Burnout 3 running demands a short shopping list rather than deep technical knowledge. Modern systems handle the game without breaking a sweat, but a few components decide whether the experience is smooth or stuttery. Gather the following before touching any settings:
- A PlayStation 2 emulator. PCSX2 is the standard choice, free, actively developed, and capable of upscaling Burnout 3 to crisp high resolutions far beyond the original hardware.
- A BIOS file from your own console. The emulator needs a copy of the PS2 BIOS, which should be extracted from hardware you personally own, since downloading one from random archives creates legal exposure.
- A legally obtained copy of the game. Burnout 3: Takedown discs remain inexpensive on the second-hand market and rip cleanly to an ISO image for personal backup.
- A gamepad or wheel. Keyboard play works in theory but sabotages the analog throttle control that makes Burnout feel right, so a controller is effectively mandatory.
- Reasonable hardware. Any quad-core CPU from the last decade paired with a mid-range GPU runs Burnout 3 at full speed with room to spare; even integrated graphics cope at moderate upscale factors.
Once the discs, files, and controller are lined up, the actual installation takes fifteen minutes. The trickier half of the project is configuration, which is where most newcomers lose patience, so the next sections walk through settings that matter.
Getting the emulator configured
Install PCSX2 through its official installer, point it at your BIOS, and let the first-run wizard handle the basics. Burnout 3 is famously well-behaved under emulation, which makes it a pleasant first project for anyone new to the scene. The settings below address the handful of quirks the game does have:
- Set the renderer to Vulkan or Direct3D 11. Both deliver consistent performance; pick whichever your GPU prefers and stick with it.
- Push internal resolution to 3x or 4x native. At 1080p or 1440p the game looks dramatically cleaner than it ever did on a CRT, with sharper car models and legible road signs at speed.
- Enable the hardware renderer’s texture filtering. This smooths the muddy textures that the PS2 era accepted as normal without altering the art style.
- Leave the frame rate limiter at full speed. Burnout 3’s physics and boost mechanics are tuned for 60 frames per second; running the game faster breaks the sense of speed, and running it slower makes the handling mushy.
- Activate the widescreen patch if you play on a modern display. The community maintains corrected aspect ratios that stretch the UI and field of view sensibly for 16:9 screens.
- Adjust the EE cycle rate only if you see slowdown. Burnout 3 rarely needs underclocking, but a modest reduction rescues frame pacing during heavy multi-car pile-ups on weaker CPUs.
Save this as a per-game settings profile rather than a global one, since PCSX2 supports game-specific overrides and you will want other titles to keep their own tuning. After the initial configuration, launch the disc image and confirm the intro cinematic plays without stutter before moving on to controller calibration.
Matching the controls to the game’s rhythm
Burnout 3’s handling model lives and dies on analog input. The boost system, the drift-first cornering, and the takedown scoring all reward precise throttle modulation that a keyboard’s on-off keys simply cannot deliver. Spending twenty minutes on controller configuration pays off in every subsequent race. The layout the original developers designed remains close to ideal, so start from it and adjust:
| Original function | Recommended PC mapping | Notes |
|---|---|---|
| Steering | Left analog stick | Keep default dead zone; Burnout needs fine center control |
| Throttle | Right trigger (RT) or A/Cross | Analog trigger preferred for feathering boost |
| Brake | Left trigger (LT) or X/Square | Digital brake is acceptable; analog adds subtlety |
| Boost | R1 or B/Circle | One-tap action; assign to a face button for reflexes |
| Rearview or camera | R2 or Y/Triangle | Handy for takedown opportunities behind you |
| Pause and restart | Start | Frequent restarts are core to the time-trial loop |
The table reflects the PS2 controller’s original layout, which the game’s pacing was designed around. Translating it to a modern Xbox or PlayStation pad is straightforward, but two habits make the biggest difference in feel. First, set your stick’s dead zone conservatively, around five percent, so tiny steering inputs at high speed register without twitching the car. Second, if your pad has analog triggers, map throttle there rather than to a face button; modulating boost pressure through corners is a skill the game quietly teaches, and binary input robs you of it.
Tuning the feel for modern hands
Beyond raw mapping, a few emulator-level tweaks transform how Burnout 3 responds. PCSX2 exposes controller settings that were invisible on real hardware, and some of them matter enormously for a game this twitchy. The most impactful adjustments for this particular title are:
- Stick response curve. Switching from linear to a slight exponential curve softens the first few degrees of steering, which keeps the car stable at 200 mph while still allowing sharp late-apex cuts.
- Trigger sensitivity. If your pad supports it, extending the trigger’s travel gives finer throttle control during boost-fed drifts.
- Dead zone per axis. Burnout 3 centers steering on the stick’s neutral position, so an asymmetric dead zone compensates for any stick drift your hardware has developed.
- Turbo or rapid-fire avoidance. Leave macro features off; the game’s boost is already a tap action, and automation strips the skill out of the mechanic.
- Rumble. Enable vibration if your emulator supports it; the crash feedback through the pad adds real physicality to takedowns.
Treat these as dial-in adjustments rather than a one-time configuration. Play a few races, notice where the car fights you, and nudge the corresponding setting. The goal is for the controller to disappear, leaving only the road, the rivals, and the roar of a full boost meter.
Fixing the problems newcomers hit
Even a well-behaved title like Burnout 3 throws a few curveballs at first-time emulators. Rather than troubleshooting blind, it helps to know which failures are common and which fixes are known to work. The issues below account for the majority of frustrated forum posts:
- Slowdown during crashes. Lower the internal resolution one step or enable the multithreaded hardware renderer; heavy multi-car wrecks stress the software renderer on weaker CPUs.
- Flickering shadows or missing textures. Toggle the hardware fixes menu for this game, enabling texture offsets or half-pixel offsets as the PCSX2 wiki suggests for Burnout titles.
- Audio crackle during boost. Switch the audio plugin’s latency up slightly; Burnout’s dense engine sound stresses tight buffering on some sound cards.
- Controller not registering as player one. Reorder controllers in the PCSX2 input settings, making sure the pad you want is bound to Controller 1 before launching the game.
- Save states losing progress. Rely on the in-game memory card saves rather than emulator save states, which are convenient for practice runs but not a substitute for real progress.
- Widescreen stretching menus. Use the community widescreen patch rather than simple aspect ratio forcing, which distorts HUD elements and car models.
Most of these are one-minute fixes once you know where to look. Keeping your emulator updated also resolves a surprising number of issues automatically, since PCSX2 improves compatibility with every release.
Building a proper arcade racer environment
Hardware choices amplify how much fun Burnout 3 delivers on a PC setup. The game was designed for a living room, a couch, and a big screen, so replicating that context matters as much as raw performance. A few upgrades elevate the experience from functional to genuinely thrilling:
- A larger display. Burnout’s sense of speed scales with screen size; a 27-inch monitor or larger lets you read traffic patterns that a laptop display compresses into noise.
- A racing wheel with force feedback. Wheels transform the handling from arcadey to visceral, though you will want to soften the force feedback strength since Burnout’s physics were tuned for a stick.
- Good speakers or headphones. The boost roar and crash sound design are central to the game’s identity, and thin laptop audio flattens them entirely.
- A controller with good analog sticks. Hall-effect or TMR sticks resist drift over years of play, which matters for a game you will want to revisit for decades.
None of this is required to enjoy the game, but the gap between playing Burnout 3 on a small screen with a cheap pad and playing it properly is enormous. Budget accordingly if this title becomes a regular fixture rather than a one-weekend curiosity.
Keeping the game alive on modern systems
Once Burnout 3 is running smoothly, a little maintenance keeps it that way. Back up your ISO image and BIOS file to reliable storage, since both represent effort you do not want to repeat. Export your PCSX2 configuration profile after settling on settings, so a future reinstall or emulator upgrade preserves your tuning. Keep emulator and graphics driver updates on your radar, because occasional PCSX2 releases fix rendering quirks or add controller support for new hardware.
Beyond maintenance, consider exploring what the community has built around the game over two decades. Custom texture packs replace muddy textures with sharper versions, widescreen patches improve modern display support, and input latency reductions make the game feel more responsive than it ever did on original hardware. None of these changes the core experience; they simply remove the friction that age introduced.
Race the crashes, not the settings
Burnout 3: Takedown earned its legendary status through aggression, speed, and a scoring system that rewarded chaos as much as cleanliness. Bringing that experience to PC in 2026 requires no expensive hardware and no deep technical skill, just a legally owned disc, a well-configured emulator, and a controller tuned for analog finesse. Start with the recommended settings, spend an evening dialing in your stick response, and the takedown counter will start climbing before you notice the hours passing. Once the setup clicks, the only thing left to master is the art of the wall-slam overtake, and that lesson never gets old.